Seattleites drink lots and lots of coffee. Mostly it's to stay awake and remain upbeat during the long grey days.
We make daily visits to the nearest dark-paneled cafe for hits of espresso. And we buy bags and bags and bags of dark beans for home.
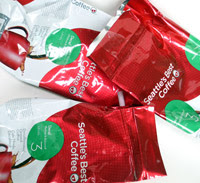
At our house, we go through several bags every week. Lately we've been buying Seattle's Best, whose cheerful cherry red and white bags deserve a chance at upcycling.
A few months ago, I started saving the bags. Finally, after the stack threatened to take over my pantry, I began my first coffee bag project -- a messenger bag.
We make daily visits to the nearest dark-paneled cafe for hits of espresso. And we buy bags and bags and bags of dark beans for home.

At our house, we go through several bags every week. Lately we've been buying Seattle's Best, whose cheerful cherry red and white bags deserve a chance at upcycling.
A few months ago, I started saving the bags. Finally, after the stack threatened to take over my pantry, I began my first coffee bag project -- a messenger bag.
Creating "fabric" out of coffee bags
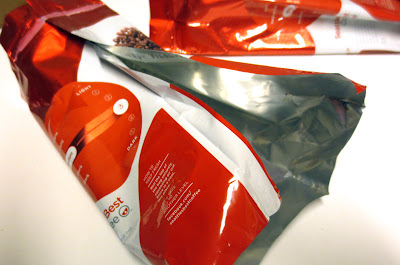
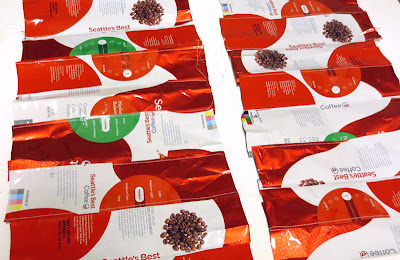
To create flat fabric-like pieces, I cut off the bottom of each bag, removed the plastic tie at the top, and then peeled apart the bag at the back seams.
Even though I had rinsed the bags before storing them, coffee grounds poured out when I smoothed out the folds. Maybe I should have flattened the bags first and then rinsed them? It would have made them easier to store.
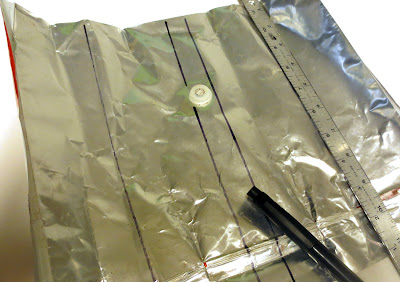
At the dead center of each bag I discovered a hard plastic disk. I pulled it off, but small slits in the bag meant I couldn't use this center piece. Using a black marker, I divided the bag into 4 rectangles.
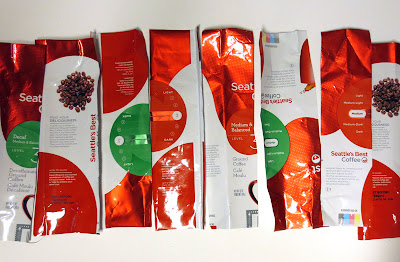
I also trimmed off the bottom edge, right above the glue strip. After cutting up several bags, I lined up the rectangles, rearranging them until I was happy with the pattern of red and white.
Reconstruction
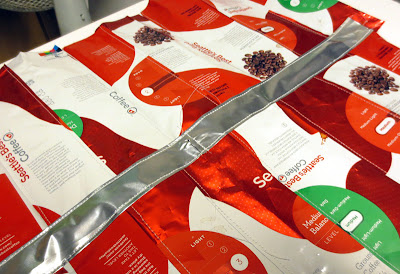
Starting at one end, I sewed one piece to the next, overlapping the edges. I didn't worry too much about consistency. If I make another bag, I'll make sure the strips all overlap in the same direction (like roof tiles).
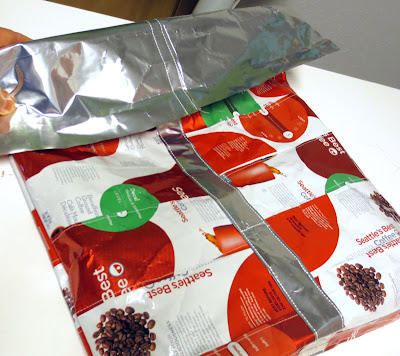
A single panel wasn't wide enough for the bag I had in mind (it might work for a small clutch purse). So I joined two together, using the same overlapping technique. To hide the seam, I created a long silver strip out of another bag (the bags are silver on the inside). I folded the long edges in and then sewed the strip onto the joined panels.
I made a second large panel like the one above and then sewed the two, right sides together, first at the bottom edge and then on the sides. The "fabric" wasn't hard to sew -- I used a leather needle on my sewing machine, just in case, but I suspect a regular needle would have worked fine.
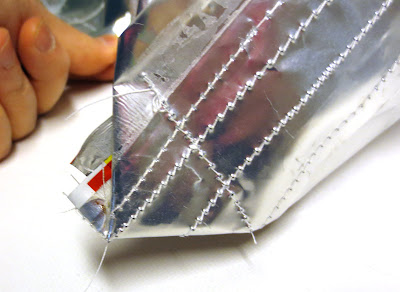
To give the bag a square bottom, I sewed across the corners (a trick I learned making iPad bags).
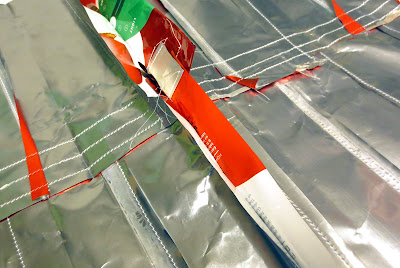
The body of the bag was done. To create a flap, I made a 3-strip piece and added it at the top of the bag. I decided to reverse the sides, so that the silver would be visible on the outside.
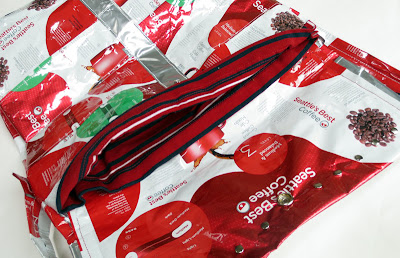
I added a back side to the flap. Feeling ambitious, I decided to line the bag, too. I searched through my stash and found this men's XXL knit shirt. The red and white matched the coffee bag colors.
From the shirt I cut two rectangles, a little wider and about 4 inches longer than the bag, and sewed the bottom and sides together. I wanted the lining to be taller so that I could fold it over the top edge of the coffee bag bag.
Instead of sewing the lining to the bag, I used velcro so that I could remove the lining to wash it.
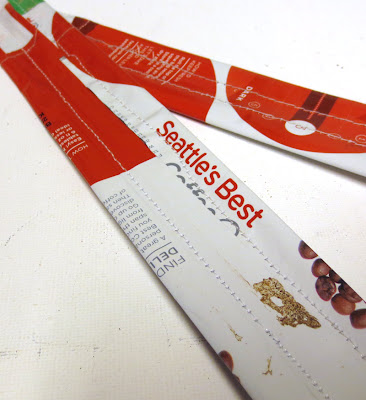
For the shoulder strap, I sewed together 5 coffee bag strips, end to end. On the inside, I drew a line down the middle of the long strip. I folded one edge to meet this line and sewed it down, then the other.
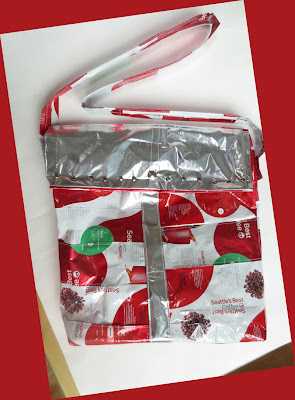
I wasn't sure I could maneuver the bag under my sewing machine to sew on the strap. Instead, I used rivets (two on each side). I liked the look so much, I decided to add a row of rivets to the flap. Finally, I put a snap in the middle.
I'm pretty happy with the final look. But I'm not sure how practical it is, at least as a purse or everyday bag. For one thing, it makes noise! And I don't love the feel of the strap. (BTW, it took about 9 coffee bags.)
Lessons for next time
The coffee bags were easy to work with, so I know I'll want to work with them again. But my next bag will be a bit different.
- Nix the silver flap -- it makes the bag look like one of those sad insulated totes in the freezer section of the grocery store. Instead, I'll stick with the red and white side or use a different brand coffee bag. Better yet, I might ditch the flap altogether and make a simple tote.
- Make the patterns identical -- I didn't worry about matching the two sets of panels on the bag front and back, but I think the bag would have looked better if I had.
- Rethink the lining -- if I want to use lining, I should reinforce it with interfacing. Otherwise, I should abandon it completely and be happy with the unlined bag. It would make a fine beach bag.


This is FANTASTIC! Sheesh ... probably shouldn't feature you twice in a week. Maybe next week? :)
ReplyDeleteThis comment has been removed by a blog administrator.
ReplyDelete